Solar Cable Sizing 101: How to Calculate Wire Size & Avoid Energy Loss
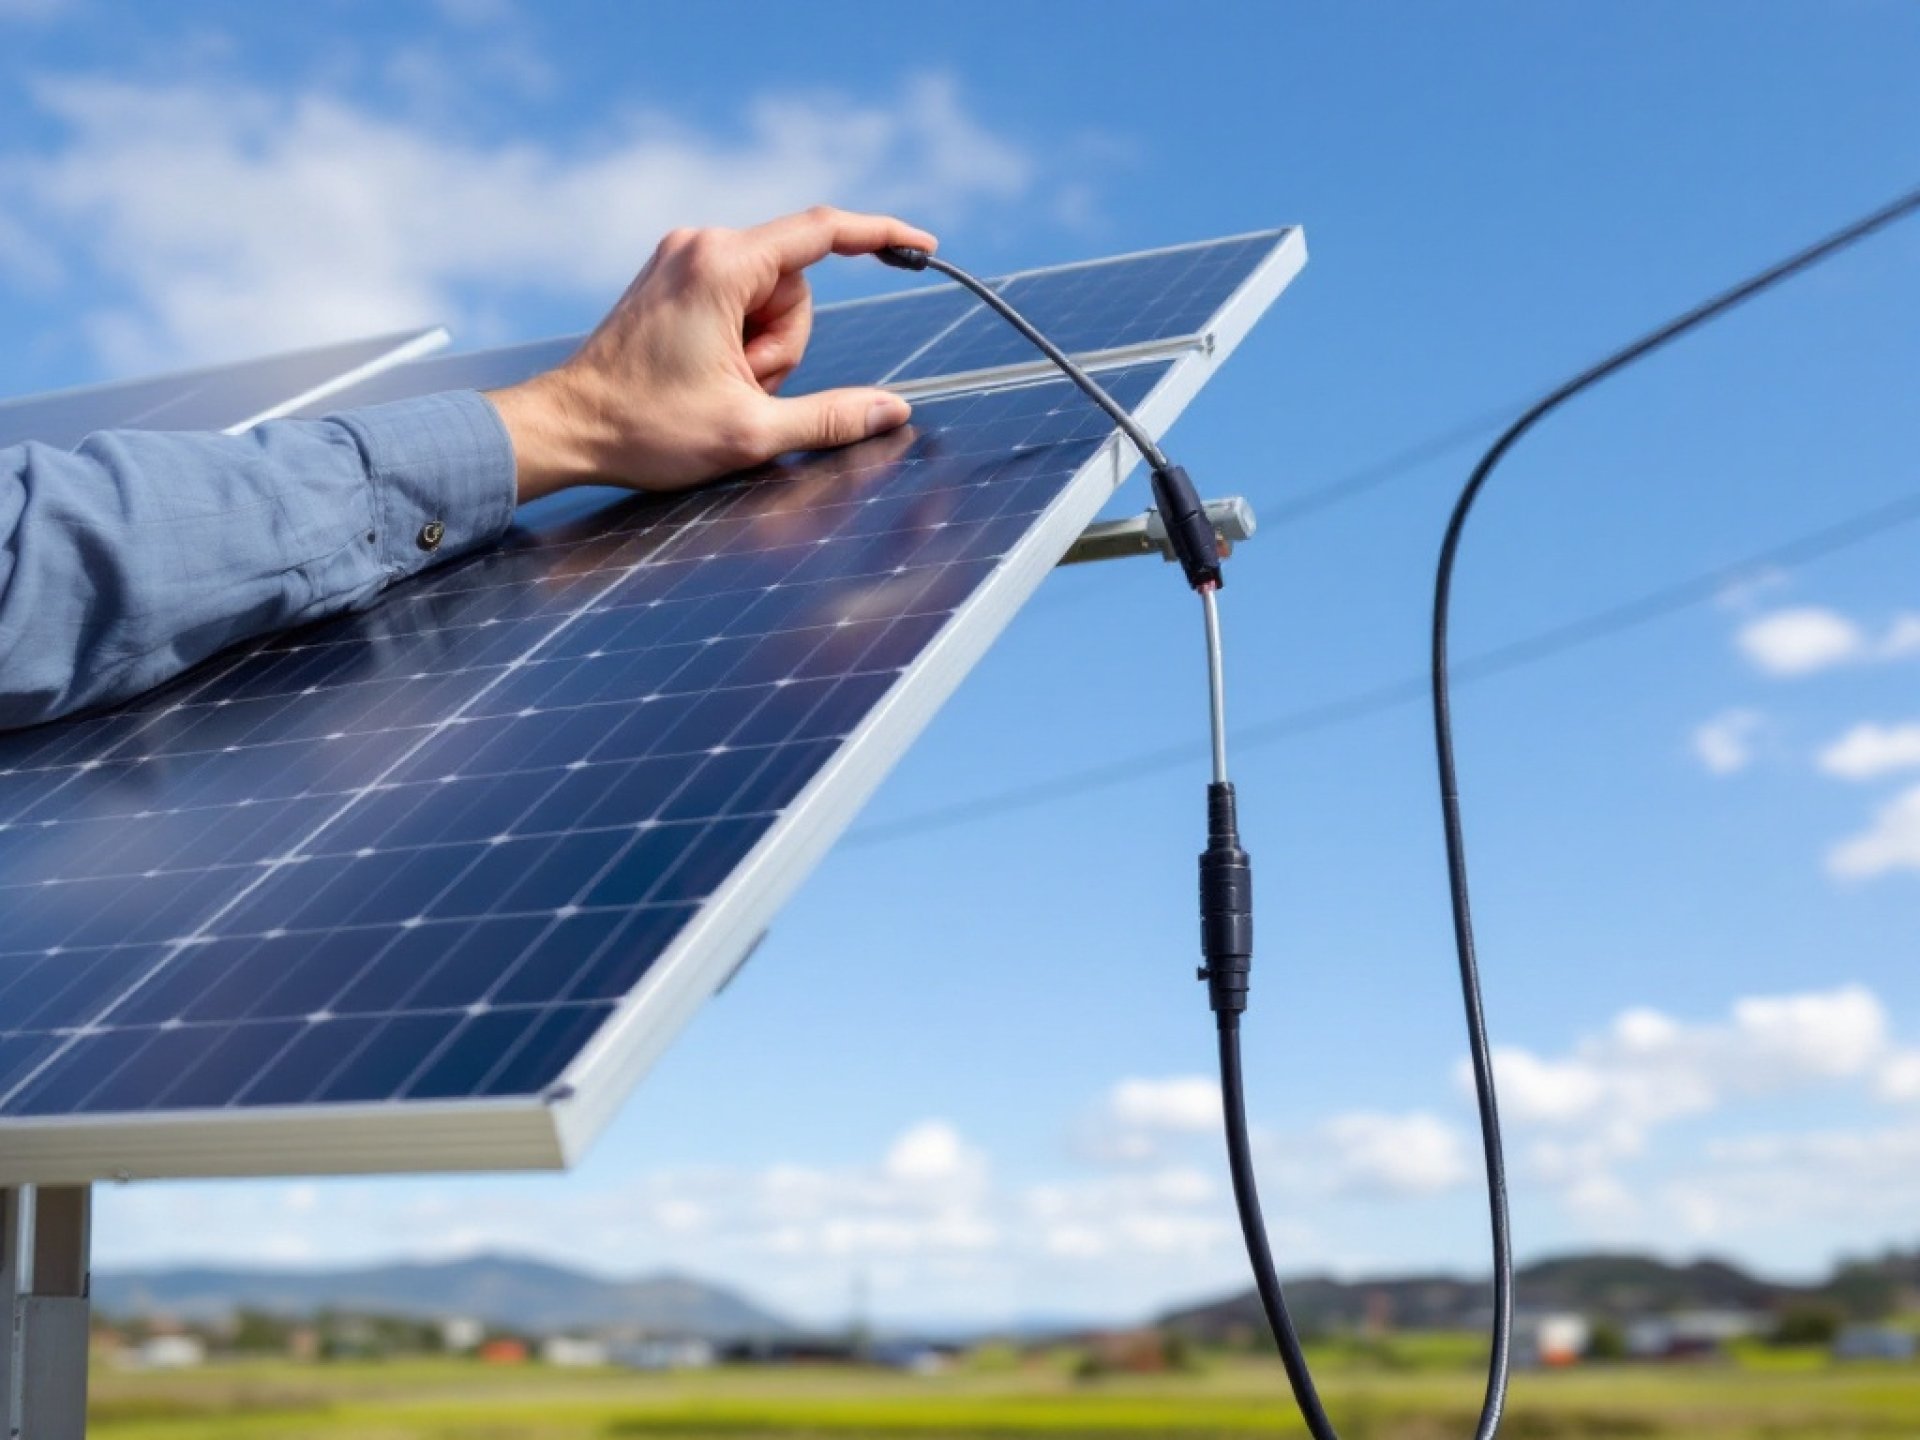
Solar panels often get the credit, but the cables do the hard work. Power has to move from the panels through the wiring to reach an inverter, battery, charge controller, or an electrical load. If the cable is the wrong size, some of the energy turns into heat. You can also see a drop in voltage before it gets to the next part.
Because of that, solar cable sizing is not just about picking a cable that seems “thick.” The proper choice depends on the current, how far the cable runs, the system voltage, the way the cable is installed, and how much voltage drop you are willing to accept. When these points are set correctly, the system can run more efficiently. It also tends to be safer and steadier over time.
So what is the method to find the right solar cable size with the help of Cable Manufacturers? Let’s go through it step by step.
Beg with Just One Question: What Current Will Be Flowing in the Circuit?
Determining the highest value of the current, which the cable will carry, is the first step to deciding the cable size.
In a DC circuit of an installation, for power (current) calculation, you can do the following:
Current (A) = Power (W) ÷ Voltage (V)
In a very practical scenario, if a solar array gives out an output power of 2000 W with an operating voltage of the system as 400 V, then:
2000 divided by 400 equals 5A.
The cable size you select should not be too small to get heated if you carry such a current for quite a while. Also, it is important to leave space for a few extra amps for the cable to work without trouble.
In the design you should also include the possibility for the cable to operate even in the worst conditions, like the highest current, rather than just rely on the usual load only. Solar installations are affected a lot due to the surroundings, the condition of the panels, the system design, etc. Moreover, the electricity rules and regulations also play a role in the determination of the design.
Determine the Length of the Cable
Cable sizing can also go wrong here.
The cable run doesn't just mean the straight line between two endpoints. The DC system is a two-wire loop where the current flows in one wire and comes back in the same current through the other wire. So, when calculating the voltage Drop over a DC supply network, the total path is generally considered; that is to say, both the going and return lines.
Let's suppose that the distance from the solar array to the inverter is 20 meters, so for a two-conductor DC calculation, the circuit length could be approximated by:
20 m + 20 m = 40 m
The higher the length of the cable, the higher will be the resistance as well as the amount of energy lost.
That is the reason why the same current through two separate solar systems can be supplied by means of different sizes of the cables if the lengths of the two wires have a significant difference.
Voltage Drop: The Number You Should Never Ignore
The size of the wire in solar systems is highly dependent on voltage drop, one of the critical factors to be considered.
As current flows through the wire, resistance within the conductor material causes the energy to decrease slightly. As a result, the receiving part of the circuit sees less voltage, even after taking the path of minimal work.
An easy and very simplified version would be that you lose voltage by doing resistance times flow. Resistance comes to you partly from the material of the conductor, a little from the dimension you choose for the conductor (cross-section), and also from the total length of the cable.
The general rule is a larger conductor = lower resistance = smaller voltage drop, i.e., the greater the size, the smaller the resistance.
In almost every solar setup, it is a matter of great concern that the voltage drop is kept low only in terms of system voltage. Of course, the value you agree to is mainly influenced by the circuit type, system construction method, equipment specifications, and the relevant electrical standards.
Cable Size Formula
Once you identify the level of current, how long the cable is, the kind of conductor material you used, and the amount of voltage drop you would accept, you can approximate the needed conductor cross-sectional area.
You might encounter the following formula when working with two-wire DC systems:
A = (2 × L × I × ρ) ÷ Vd
The abbreviations stand for:
- The conductor area in square millimeters
- L single cable length (in meters)
- The electric current value (in amperes)
- ρ the conductor material resistivity
- Vd maximum allowed voltage drop (in volts)
The 2-multiplier factor is introduced to include the current path both ways, one way to the destination and the other way back to the source.
In the end, what you get from the formula is just an approximation because, as well as electrical properties, environmental conditions will also influence your selection. For example, the ambient temperature, how you installed the cable, what insulation level your cable has, how good your fire retardant properties are, mechanical strength requirements, standards that apply, or maybe specifications for the other equipment you are going to connect to.
Therefore, after this first sizing calculation, a proper review is necessary to check that your cabling meets all these requirements and is also suitable from the point of view of current-carrying and fire safety requirements in the environment where the cables are installed.
What Happens When the Cable Is Too Small?
Getting an undersized cable wrong can lead to a number of issues:
- Higher resistance and energy losses
- Excessive voltage drop
- Increased cable heating
- Reduced system efficiency
- Potential insulation damage over time
- Increase in the performance gap of the connected equipment
Over a long period, even the tiny amounts of loss in an adequately designed solar installation would add up quite a lot.
Trying to be clever by going for the smallest possible cable to save costs would most likely work against the system's efficiency and reliability when considered long-term.
The Final Connection: Efficiency Starts With the Right Cable
Solar panels can make a lot of clean power. Still, that power only reaches your system well if the parts are picked correctly. One piece people often overlook is the cable size.
Start by finding what your current setup needs. Then measure the full cable run length. After that, estimate the voltage drop. You also need to note the conductor type and how the cable will be installed. Finally, compare the cable ampacity and details to the rules that apply.
It can help to use cable brands that have been in the market for a long time. Good cables are more than a simple link between two parts. They also help keep the system safe and working well over the years.
For solar wiring that you can trust, Znergy Cable is known for solid cable options, as explained by the Solar Cable Manufacturers. Their products are built for the needs of today’s electrical and renewable projects. If you choose Znergy Cable, you are more likely to get a strong cable base for steady long-term results.
Also Read: AS/NZS 1802 Reeling & Trailing Cables: How to Choose the Right Type for Mining Operations